HOW TO APPLIQUÉ - 3 WAYS TO CHOOSE FROM
In this video tutorial I’ll show you how to appliqué – we’ll go over three different techniques and you can decide which one works best for you!
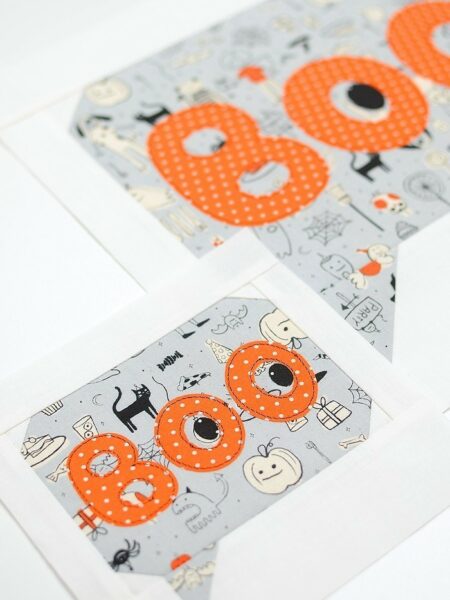
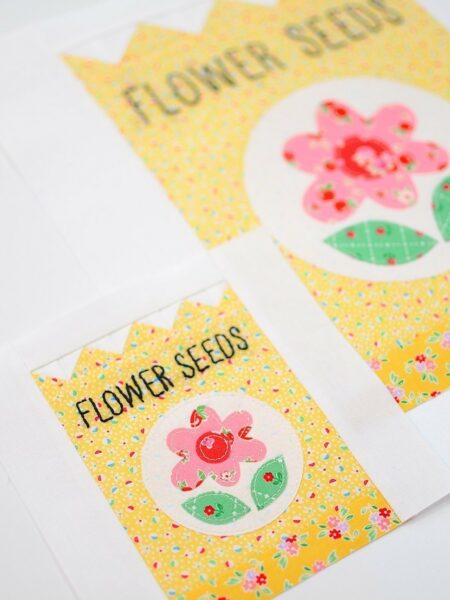
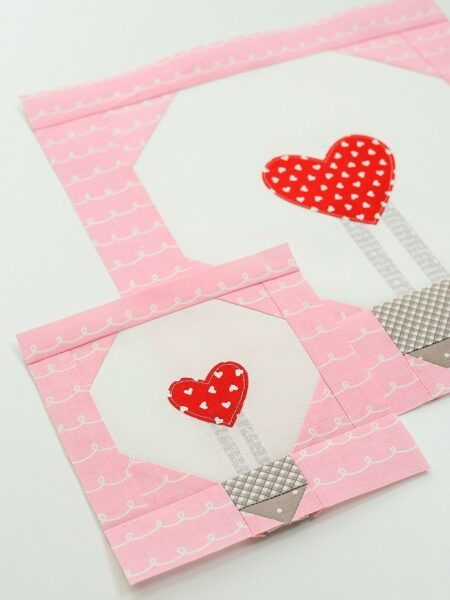
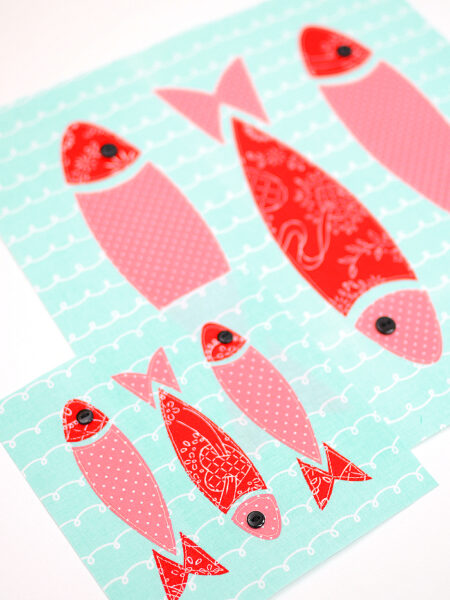
Appliqués are not only fun and easy, they also allow you to create almost any shape you like. In my quilt designs I use appliqués when I’m trying to achieve a shape that is too difficult to create with traditional machine piecing.
Download the TULIP TEMPLATE here:
https://ellisandhiggs.quantenfrosch.at/tulip-template.pdf (click here)
I hope you’ll enjoy this tutorial. For more tips & tricks sign up to my email list and join my community.
Here’s the link: https://ellisandhiggs.quantenfrosch.at/newsletter/
RAW EDGE APPLIQUÉ:
– (1) 13” x 13” cotton fabric square
– 4 pieces of cotton fabric measuring between 6” x 8” and 2” x 4”
– 9” x 12” paper backed iron-on-adhesive
INTERFACING APPLIQUÉ:
– (1) 13” x 13” cotton fabric square
– 4 pieces of cotton fabric measuring between 6” x 8” and 2” x 4”
– 9” x 12” lightweight one-side fusible interfacing
REVERSE APPLIQUÉ:
– (1) 13” x 13” linen or cotton/linen blend square
– 4 pieces of cotton fabric measuring between 6” x 8” and 2” x 4”
You’ll also need:
Pencil, heat erasable marking pen, fabric scissors, household scissors, embroidery scissors, fabric glue stick, temporary spray glue, turning tool, pins
RELATED PATTERNS


MORE TIPS & TRICKS